
After the hardening process of the quench, you then temper the blade. Which means to heat it again, but it’s more gradual this time, and doesn’t rise nearly to the temperatures used during the initial quenching process. Depending upon the blade, after it’s been initially heated and quenched, the tempering process may cycle several times.
For the encounters in Dragonfire, this involved playtesting. And playtesting. And more playtesting. Obviously I spent an entire post going in-depth about what that covers. Yet here we are, two months later, and if anything, the playtesting over that time simply intensified. There were times in the last month where seven out of eight straight days (baring Sundays) were spent playtesting. In fact, I just had a discussion with the family last night about this, as they were wondering when life might be returning to ‘normal’ craziness. I’ve been blessed to work in the hobby I love for over twenty years now. And I’ve been involved in a lot of heavy game design and production that felt like endless time-sinks. (Leviathans immediately comes to mind). But nothing compares with the sheer volume of work poured into this game in such a short period of time. I told them hopefully after Gen Con I’ll return to my normal 12-hour days and playtesting only once or twice a week. We’ll see if that works out…
Now most of that was focused on Features (stickers) and Magic Items. But during that entire process, we had to be flexible enough to know when a Market card needs some help. Or, even after months of locking an encounter down, realizing it needs to change to deal with the new dynamics created as players move beyond Character Level 1—due to all the great experience points they’ve earned playing games—and start to increase their potency via those advancements. Not to mention the wonderful new possibilities of the Druid, Ranger, Bard, and Warlock Character Classes we’re introducing in the Heroes of the Sword Coast character pack, which will be available alongside the base game release.
Additionally, we’re constantly stress testing every conceivable variation of the game itself: only two players; all six players; all of the perceived strongest Character Classes; all the perceived weakest Character Classes; worst combination of stickers; absolutely maxed combination; bloated and random magic items; most potent and slick combo of magic items—I think you get the picture. And all of that is not only about ensuring that things are working and creating great, tactical, challenging fun, we were always zeroing in on the fixed point that was settled upon for how difficult we wanted the game to be. And we’ve swung many times back and forth across the desired point. We’d introduce some new element on the player side, and it would almost wreck the game. So then we’d dump it or modify it and adjust on the encounters side for parity, and so on.
During this final tempering process, we introduced three last elements. Difficulty Rating 3 encounters, an Immunity to Level Damage icon, and Save +X. The two later were literally finalized within the last ten days, as we’re on the cusp of printing as I write this.
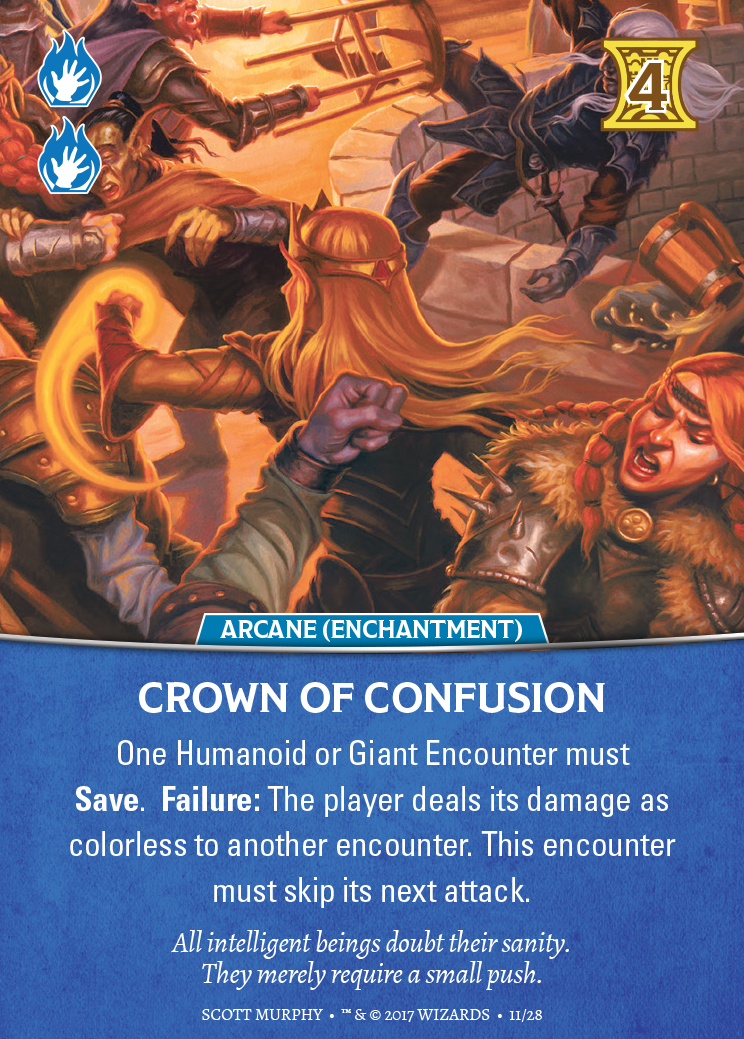
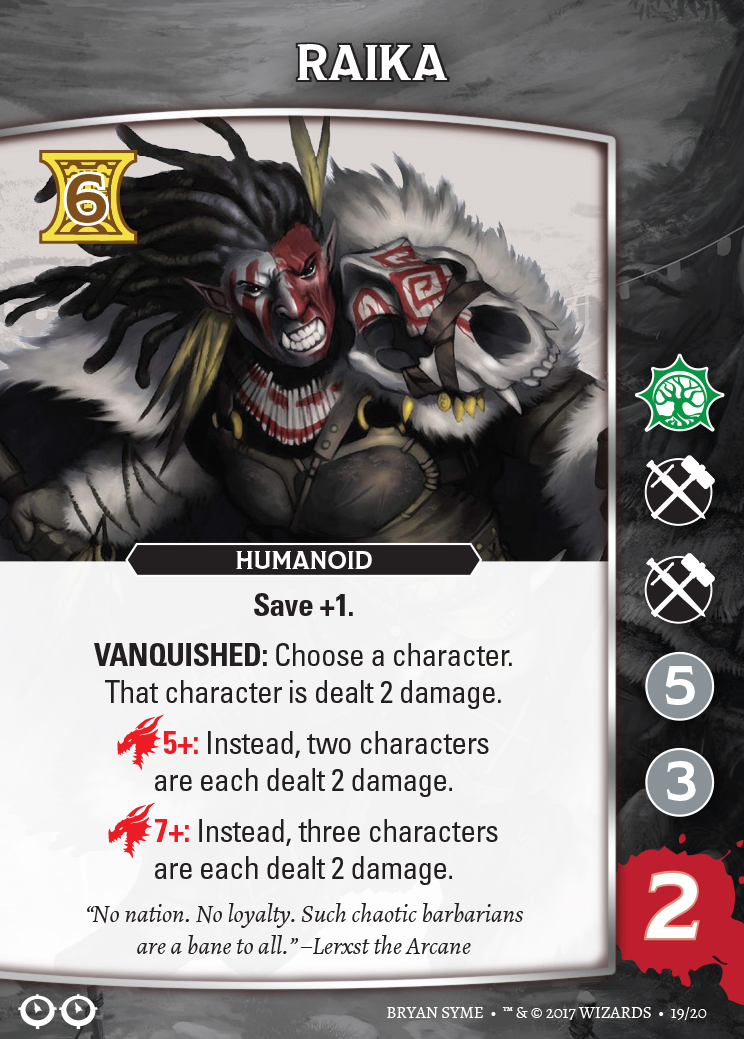
We’ll discuss these elements in reverse order. I previously covered Saves, and even showcased Crown of Confusion. But we’ll show it here again so you can see that you’re forcing an encounter to make a Save and if they fail, they not only must skip their next attack, but you’re able to use their Attack Strength as colorless damage against another encounter. An absolutely great card. However, as more similar effects arose—along with the multiplicative effect of overlapping abilities—it became apparent that it might start being a little too easy to punk encounters. And this is especially true of Difficulty Rating 3 encounters: the idea that one card flip could allow you to punk an Adult Dragon. Nope, that’s simply not appropriate. That doesn’t mean all encounters have the extra save like Raika, who has a Save +1 (he reveals two cards to make a single Save). But a few sprinkled Saves +X brought us back towards that central fixed point.
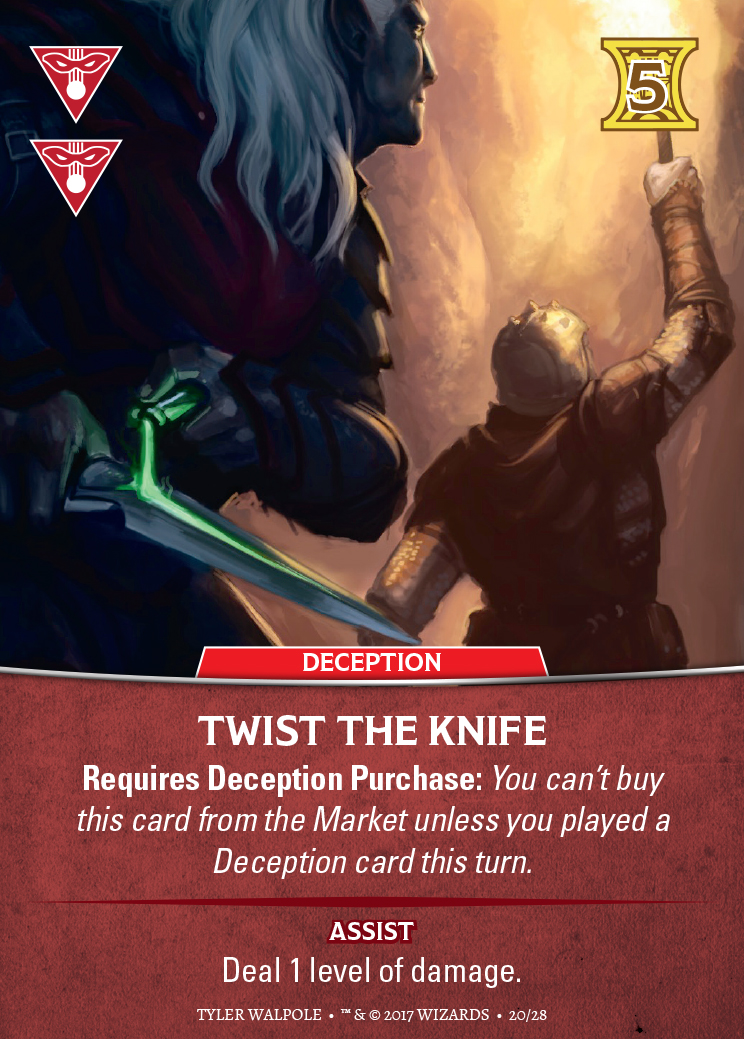
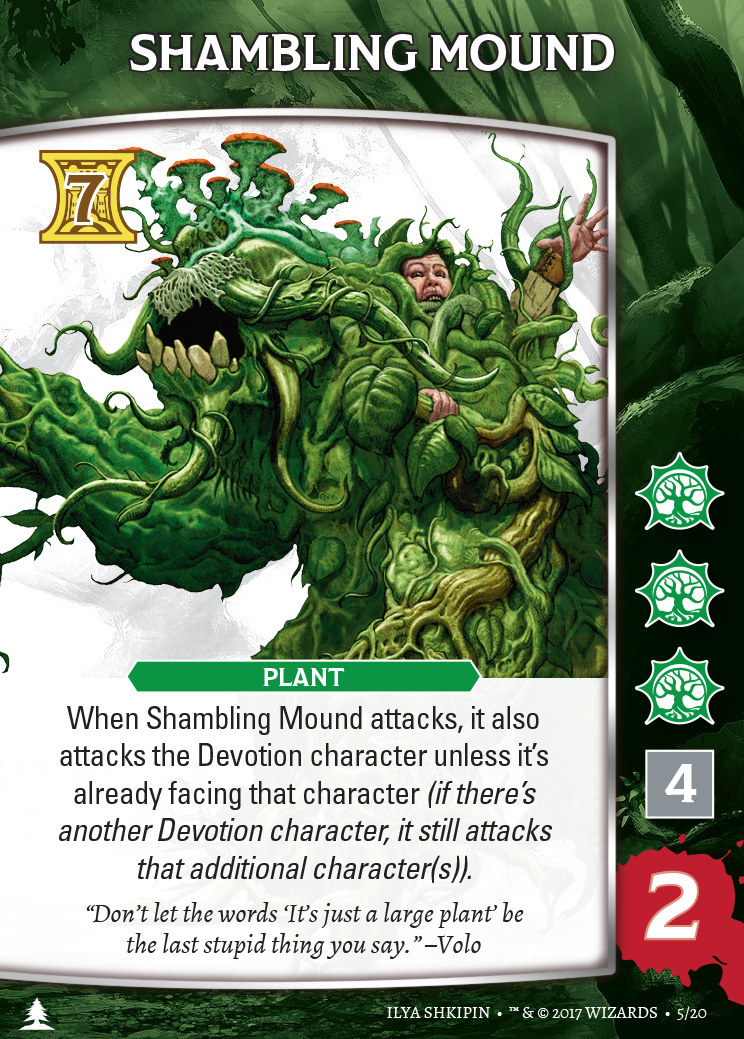
In the base game, each Class Type has one or two cards that define them. And in the case of the Rogue, Twist the Knife is king. Now we’ve built numerous decks that allow for a wide variety of play. But hands down the one most will gravitate toward is built around Twist the Knife. That level damage allows you smash any level, from a color icon(s), all the way up to, say, an 8 colorless level (which is brutal). Once again, as the various Feature and Magic Item abilities were brought to bear, the might of that level damage increased to a point that we needed some counter-defenses to swing the pendulum a little back away from how far it’d moved onto the character side. The square 4 level on the Shambling Mound’s damage track is an Immune to Level Damage icon. You can still add up damage values to defeat that level, but Twist the Knife’s ability—along with all similar effects—can’t touch it. Again, as with Saves, they are not remotely on all the cards. Just a few here and there to give the Encounter Decks their bite back.
Finally, we come to the Difficulty Rating 3 cards. I discussed in a previous post that we divided all the creatures from D&D into four Difficulty Ratings. And you won’t see Difficulty Rating 4 cards for some time. In fact, you won’t really see us starting to really flesh out Difficulty Rating 3 cards for a short time yet. However, it slowly became apparent a month ago that the base game needed a few such cards. This served several purposes.
First, the base game only goes up through Character/Adventure Levels 4. If we wanted to give you a way to play at Level 5 before we started fully supporting those in future releases, those Rating 3 cards were a must.
Second, those cards would significantly increase our ability to craft exciting, challenging, and story-immersing adventures. For example, of the seven Adventures in the base game—that’s right, there are seven of them!—five of them tie into a campaign, which includes an Adventure Campaign booklet with an expanded story, additional rules based upon choices you make during the campaign, and so on. And several of those Difficulty Three Rating cards make early appearances in unusual, challenging Adventures.
Finally, of course, is the bald-faced desire that when you see the deadly challenges you can face down the line, you’ll rise to face each one, blade ready, shield firm, magic sparking at your fingertips, and you’ll want to dive into the future releases.
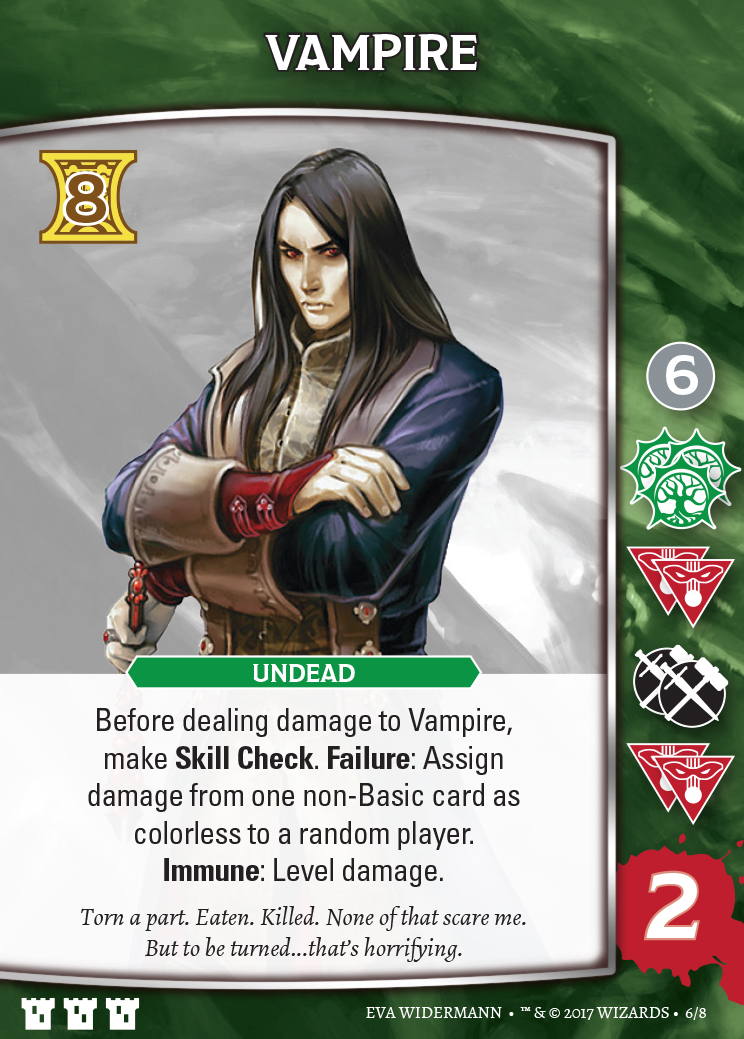
The Vampire is my second favorite of the six Difficulty Rating 3 cards in the base game (perhaps another time I’ll talk about my favorite). It’s a beast that introduces three color-icons on a single damage level; a great mechanic that touches nicely upon its glamour ability; and finally an Immunity keyword. Note this is much stronger than the icon above. The icon on that Shambling Mound only protects that row. For the Vampire, which in the tabletop RPG is a Challenge Rating of 13 (compared with the Shambling Mound’s Challenge Rating of 5)…yeah, this is a terrifying lord of the night that will ruin your day but good. You don’t really have a chance to face him down until Character Level 3. And even then, he’ll likely chew you up the first time or two. But when you do bring him down…yeah, that’s the stuff legends are made of, sparking stories you’ll tell endlessly.
Well…after almost a dozen posts discussing encounters, that pretty much covers it from all angles, and gives the blade of our encounters a fine, sharp edge. Next time I’ll refocus on the characters and their screens, Feature stickers, and ultimately Magic Items you’ll use to conquer all those dangerous encounters!
Until next time!
Randall